Dog Ear Care: How to Check and Clean Your Dog’s Ears
Regular dog ear care is an important part of keeping your dog comfortable and healthy. Some dogs rarely need their ears cleaned, while others need more frequent attention because of their breed, ear shape, activity level, or individual tendency to develop ear problems.
Cleaning your dog’s ears should always be gentle and should never cause pain. Learning how to check and clean them properly can help you maintain good ear hygiene while making it easier to notice potential problems early.
1. Check Your Dog’s Ears Regularly
Before cleaning your dog’s ears, take a moment to look at them. A healthy ear generally shouldn’t have a strong unpleasant smell, significant redness, swelling, or excessive discharge. Look for:
- Redness
- Swelling
- Unusual discharge
- Excessive wax
- Dirt or debris
- Strong odors
- Scratching
- Frequent head shaking
Regular checks are the foundation of good dog ear care, since they help you notice changes before they become more serious.
2. Know When Your Dog Actually Needs Cleaning
Not every dog needs their ears cleaned on a fixed schedule. Some dogs may need occasional cleaning, while others need more frequent care. Cleaning healthy ears unnecessarily, or too often, can actually irritate the ear canal.
Your dog’s individual needs can depend on factors such as:
- Ear shape
- Amount of hair around the ears
- Swimming habits
- Outdoor activity
- History of ear problems
- Skin conditions
If you’re unsure how often your dog’s ears should be cleaned, ask your veterinarian for guidance tailored to your dog.
3. Use a Dog-Safe Ear Cleaner
If your dog’s ears need cleaning, use a product specifically designed for dogs and follow its instructions. Avoid putting household cleaners, alcohol, hydrogen peroxide, or other unapproved substances into your dog’s ears, since these can irritate sensitive tissues and may cause problems, particularly if the eardrum is damaged.
If your dog already has an ear problem, ask your veterinarian what type of cleaner is appropriate before treating the ears at home.
4. Gather Everything Before You Start
Ear cleaning is easier when everything you need is within reach. You may want:
- A veterinarian-approved dog ear cleaner
- Cotton balls or gauze
- A towel
- Treats
- A comfortable place where your dog can remain still
Avoid using cotton swabs deep inside the ear canal. They can push debris farther into the ear or potentially cause injury.
5. Keep Your Dog Calm
Choose a quiet time when your dog is relaxed. If your dog has never had their ears cleaned before, let them see and smell the supplies first, and reward calm behavior with praise or treats.
For dogs that are nervous about ear handling, introduce the process gradually as part of ongoing dog ear care. You might begin by simply touching the outside of the ear and rewarding your dog, before eventually moving on to cleaning. Never force the process if your dog becomes extremely distressed.
6. Apply the Ear Cleaner Carefully
Follow the instructions on the ear cleaner you’re using. Generally, you can gently lift the ear flap and apply the recommended amount of cleaner into the ear canal, without forcing the bottle tip deep inside.
Once the cleaner is applied, gently massage the base of the ear for several seconds. You may hear a soft squishing sound as the cleaner moves around, which helps loosen wax and debris.
7. Let Your Dog Shake
After massaging the ear, allow your dog to shake their head. This helps move loosened debris and excess cleaner toward the outer part of the ear.
It’s a good idea to do this somewhere that’s easy to clean, since some of the liquid and debris may end up on nearby surfaces.
8. Wipe the Outer Ear
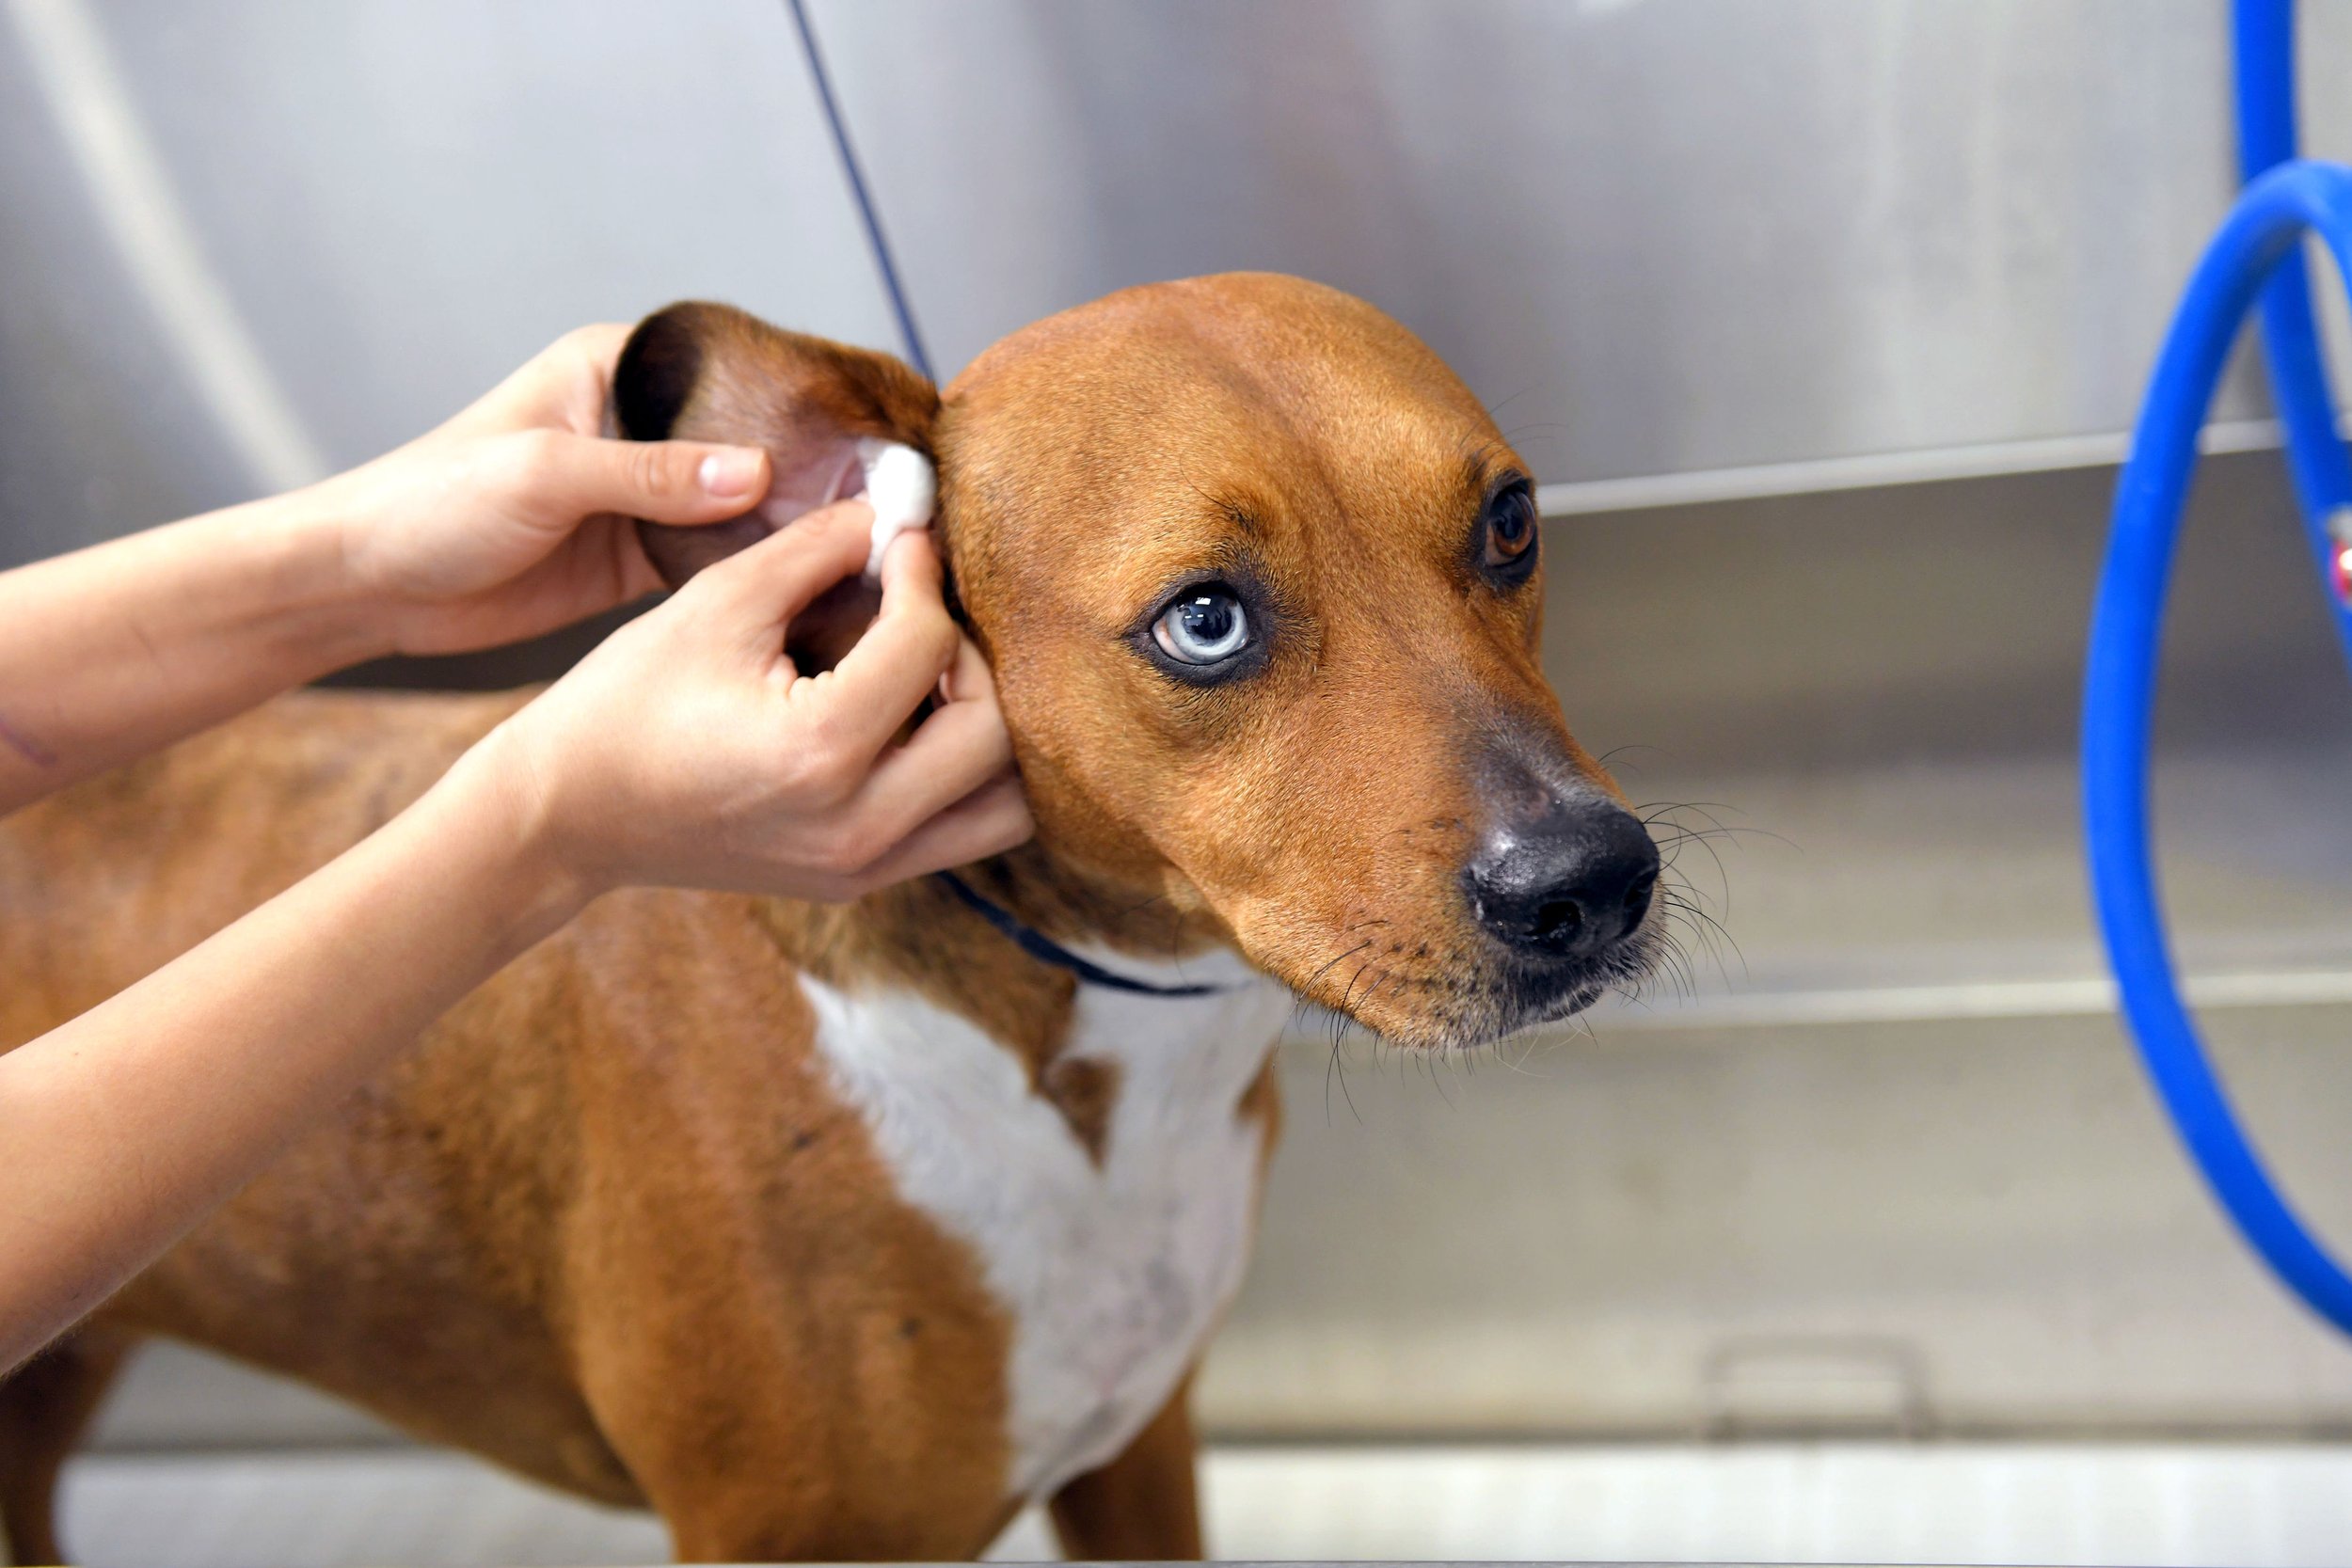
Use a cotton ball or piece of gauze to gently wipe away the loosened debris from the visible parts of the ear. Only clean areas you can easily see and reach, and never push cotton balls, gauze, or other objects deep into the ear canal.
According to the American Kennel Club’s guide to cleaning dog ears, gently handling your dog’s ears regularly, even outside of cleaning sessions, is a simple way to check on their condition and catch problems early. The goal is to remove excess wax and debris without irritating the delicate tissues inside.
9. Give Your Dog a Reward
Once you’re finished, reward your dog with praise, a treat, or a bit of playtime. Ending the session on a positive note helps your dog form a good association with ear handling, which makes future dog ear care sessions considerably easier for both of you.
10. Repeat Only as Needed
Resist the urge to clean your dog’s ears more often than necessary. Over-cleaning can irritate healthy ear tissue and potentially disrupt the ear’s natural balance.
Instead, use your regular checks to guide your schedule. If the ears look clean and healthy, there’s usually no need to clean them again right away.
What Not to Do
A few common mistakes can turn routine dog ear care into a source of irritation or injury. Avoid:
- Inserting cotton swabs or other objects deep into the ear canal
- Using cleaners not made for dogs
- Cleaning ears that appear painful, swollen, or infected
- Forcing the process when your dog is extremely distressed
- Cleaning healthy ears excessively
If your dog resists ear handling altogether, work on gradual, positive training first rather than pushing through a full cleaning.
When to Contact a Veterinarian
Some ear issues need more than routine cleaning at home. Contact your veterinarian if you notice:
- Strong or worsening odor
- Significant redness or swelling
- Dark, excessive, or unusual discharge
- Signs of pain when the ear is touched
- Persistent scratching or head shaking
- A visibly injured or bleeding ear
- Ears that don’t improve with regular care
Attempting to clean an already infected or injured ear can make the problem worse, so it’s best to have it evaluated first.
The Bottom Line
Good dog ear care starts with regular checks, so you know what’s normal for your dog and can spot changes quickly. When cleaning is needed, use a dog-safe cleaner, work gently, and keep the experience calm and positive.
Not every dog needs frequent ear cleaning, and over-cleaning can cause its own problems, so let your dog’s individual needs guide your routine. If you ever notice redness, odor, discharge, or signs of discomfort, check with your veterinarian rather than treating it at home.
Regular ear care can be an important part of keeping your dog comfortable and healthy. Some dogs rarely need their ears cleaned, while others may need more frequent attention because of their breed, ear shape, activity level, or individual tendency to develop ear problems.
Cleaning your dog’s ears should be gentle and should never cause pain. Learning how to check and clean them properly can help you maintain good ear hygiene while making it easier to notice potential problems early.
1. Check Your Dog’s Ears Regularly
Before cleaning your dog’s ears, take a moment to look at them.
A healthy ear generally should not have a strong unpleasant smell, significant redness, swelling, or excessive discharge.
Look for:
- Redness
- Swelling
- Unusual discharge
- Excessive wax
- Dirt or debris
- Strong odors
- Scratching
- Frequent head shaking
Regular checks can help you notice changes before they become more serious.
2. Know When Your Dog Actually Needs Cleaning
Not every dog needs their ears cleaned on a fixed schedule.
Some dogs may need occasional cleaning, while others may need more frequent care. Cleaning healthy ears unnecessarily or too often can irritate the ear canal.
Your dog’s individual needs can depend on factors such as:
- Ear shape
- Amount of hair around the ears
- Swimming habits
- Outdoor activity
- History of ear problems
- Skin conditions
If you’re unsure how often your dog’s ears should be cleaned, ask your veterinarian for guidance.
3. Use a Dog-Safe Ear Cleaner
If your dog’s ears need cleaning, use a product specifically designed for dogs and follow its instructions.
Avoid putting household cleaners, alcohol, hydrogen peroxide, or other unapproved substances into your dog’s ears. These can irritate sensitive tissues and may cause problems, particularly if the eardrum is damaged.
If your dog already has an ear problem, ask your veterinarian what type of cleaner is appropriate before treating the ears at home.
4. Gather Everything Before You Start
Ear cleaning is easier when everything you need is within reach.
You may want:
- A veterinarian-approved dog ear cleaner
- Cotton balls or gauze
- A towel
- Treats
- A comfortable place where your dog can remain still
Avoid using cotton swabs deep inside the ear canal. They can push debris farther into the ear or potentially injure the ear.
5. Keep Your Dog Calm
Choose a quiet time when your dog is relaxed.
If your dog has never had their ears cleaned before, let them see and smell the supplies first. Reward calm behavior with praise or treats.
For dogs that are nervous about ear handling, introduce the process gradually. You may begin by simply touching the outside of the ear and rewarding your dog before eventually moving on to cleaning.
Never force the process if your dog is becoming extremely distressed.
6. Apply the Ear Cleaner Carefully
Follow the instructions on the ear cleaner you’re using.
Generally, you can gently lift the ear flap and apply the recommended amount of cleaner into the ear canal. Avoid forcing the bottle tip deep into the ear.
Once the cleaner is applied, gently massage the base of the ear for several seconds. You may hear a soft squishing sound as the cleaner moves around the ear.
This helps loosen wax and debris.
7. Let Your Dog Shake
After massaging the ear, allow your dog to shake their head.
This helps move loosened debris and excess cleaner toward the outer part of the ear.
It’s a good idea to do this somewhere that is easy to clean because some of the liquid and debris may be shaken onto nearby surfaces.
8. Wipe the Outer Ear
Use a cotton ball or piece of gauze to gently wipe away the loosened debris from the visible parts of the ear.
Only clean areas that you can easily see and reach.
Do not push cotton balls, gauze, or other objects deep into the ear canal.
The goal is to remove excess wax and debris without irritating the delicate tissues inside the ear.
9. Give Your Dog a Reward
Once you’re finished, reward